This past week, a friend of mine sent me a link to a blog called, The Crepes of Wrath. The link she sent me contained a recipe for S’more Cookie Bars. It was an immediate love connection between me and these wonderfully delicious looking treats that weekday morning. I dreamed about this desert for the rest of the day.
Luckily, the Carolina Panthers had their first pre-season football game this past Saturday. We always like to have people over for the games, even more so now that Eric has his completed man cave. It also didn’t hurt that my sister and father were visiting for the weekend. Another excuse to make sinfully yummy treats. 😉
I also want to add that these cookie bars were fairly easy to make. The hardest part being the top layer of graham cracker crust. Getting it placed on top of the rest if the cookie bar took some effort in order to avoid the layer from falling apart.
The ingredient list is not too bad as well. The usual ingredients for cookies: granulated sugar, brown sugar, flour, baking powder, 1 egg, and so on. The only ingredient that I had not previously worked with was the marshmallow fluff. The recipe strictly prohibited the use of regular marshmallows because it tends to harden, loosing the gooey goodness that makes the cookie bar so amazing.
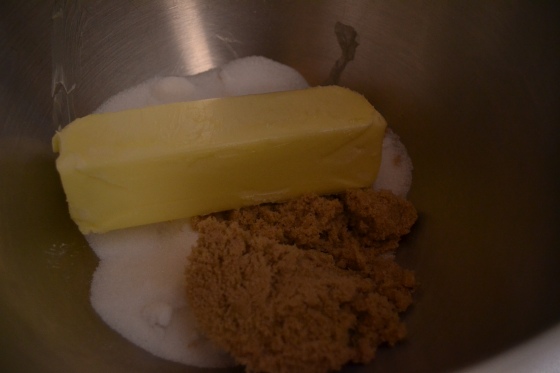
As with most cookie recipes, you cream together the butter, sugars, and then add egg and vanilla. This is something I also learned is very important from my grandmother. You keep the dry and the wet ingredients separate until you are ready to mix them all together. Creaming the butter and sugars together can make a huge difference in any recipe.
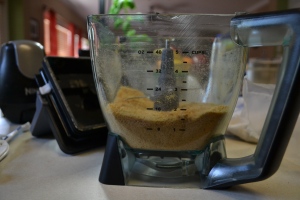
The recipe called for graham cracker crumbs. I decided to use my smaller food processor Ninja instead of our huge one. Although I love our huge food processor it can be such a pain to clean for small projects like this one.
Next was to roll out the dough and place it into the bottom of a greased pan. I substituted the greased pan for parchment paper which makes clean up quicker and makes removal from the pan 100x easier.
You separate the graham cracker cookie dough in half so that you can have enough for both a top and bottom layer. Next, you lay the chocolate candy bars on top. I decided to go with Hershey’s since Harris Teeter was having a sale on them: buy two, get one free. I got a total of nine regular sized bars since the recipe called for two king sized but only ended up using six and a half candy bars.
Then you add the marshmallow fluff on top. This took about one and a half jars.
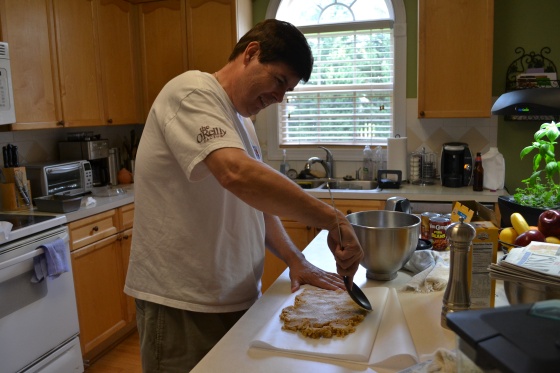
Finally, the top layer. This was the trickiest part of the whole recipe. My dad assisted in smoothing out the dough with a non-stick spoon. I was afraid our wooden roller would have stuck to the graham cracker and caused major issues.
Without his help and genius idea of slowly rolling the layer off the parchment paper and onto the top of the other layers, I don’t think it would have come out as good. Thanks Dad! 🙂
Before…
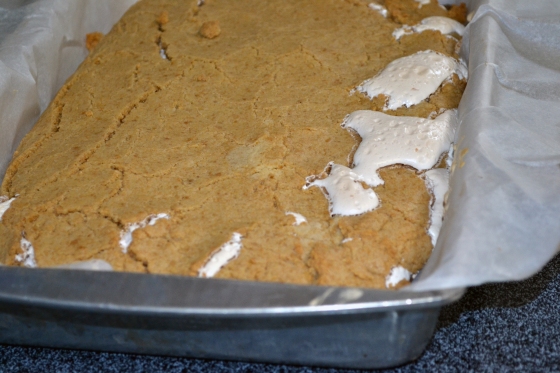
After….
The final step is to wait until it is completely cooled before cutting into it. Apparently if you cut prior to cool down the whole thing will fall apart.
The end product. There was only one left after the football game that night. I would call that a success. 
I was never a big s’more eater prior to this desert, but I think I have gained a new respect for the s’more. I plan to make this one again soon! 🙂
S’more Cookie Bars
Print this recipe
from Baking Bites
1/2 cup unsalted butter, room temperature
1/4 cup brown sugar
1/2 cup granulated sugar
1 large egg, room temperature
1 tsp vanilla extract
1 1/3 cups all-purpose flour
3/4 cup graham cracker crumbs (about 8 graham crackers)
1 teaspoon baking powder
1/4 teaspoon salt
2 king-sized milk chocolate bars
1 1/2 cups marshmallow Fluff (not melted marshmallows because they harden when they cool)
1. Preheat oven to 350 degrees F. Grease and/or line an 8-inch square baking pan.
2. In a large bowl, cream together butter and sugar until light. Beat in egg and vanilla.
3. In a small bowl, whisk together flour, graham cracker crumbs, baking powder andsalt. Add to butter mixture and mix at a low speed until combined. Divide dough in half and press half of dough into an even layer on the bottom of the prepared pan. Don’t worry if it seems thin; the baking powder will allow it to rise.
4. Place chocolate bars over dough (don’t layer the bars, just break them to fit if you need to), then spread the marshmallow Fluff over the chocolate bars. Finally, top the Fluff with the remaining dough by forming the dough into sheets with the palm of your hands and laying it down (as shown above). Don’t worry if the dough isn’t covering everything! It’ll spread out as it bakes.
5. Bake for 30 to 35 minutes, until lightly browned. If the top is browning too quickly, you can always cover it with tin foil for the remaining baking time. Cool completely before cutting into bars. If you don’t allow them to cool completely, they will crumble when you try to cut them. Makes 16-20 bars.

